Introduction
Format choice and quality setting are the two biggest levers you have over image file size. They are covered in theory in Tutorial 04: Raster Formats and Tutorial 05: Choosing a Format. This example makes the trade-offs concrete by letting you see the same photograph at different settings side-by-side — or one at a time with a size readout — so you can form your own calibrated intuition.
All images are 800 × 533 pixels. File sizes are the actual byte counts on disk, not estimates. The question you should be asking as you click through is: at what point does the quality loss become visible to a typical user on a typical screen?
Format trio — JPEG vs WebP vs AVIF
The three buttons below each swap the displayed image to the same photograph encoded in a different format at broadly equivalent quality settings. The file size updates in the readout beneath the buttons. The visual difference between formats is small at these settings; the file-size difference is the point.
File size:

WebP produces a file roughly 55% the size of the equivalent JPEG here. AVIF goes further — about 40% of the JPEG size — thanks to its more sophisticated codec (AV1-derived). The visual quality of all three at these settings is essentially indistinguishable at normal viewing distance.
Key markup: switching the source with JavaScript
The interactive control above uses a small IIFE-scoped script to swap the
src of a single <img> and update an
<output> element that announces the new size to assistive technology
via aria-live="polite".
Quality ladder — JPEG 90 / 75 / 60 / 35
Choosing a format is only half the decision; you also choose a quality setting when encoding. Lower quality means a smaller file but more visible compression artefacts. The four steps below are all JPEG, all 800 × 533 px, encoded at different quality values. Click through them in order and watch the sky and smooth cliff gradients for the moment blocking artefacts first appear.
File size:
Near-lossless. Indistinguishable from the original at normal viewing distance.
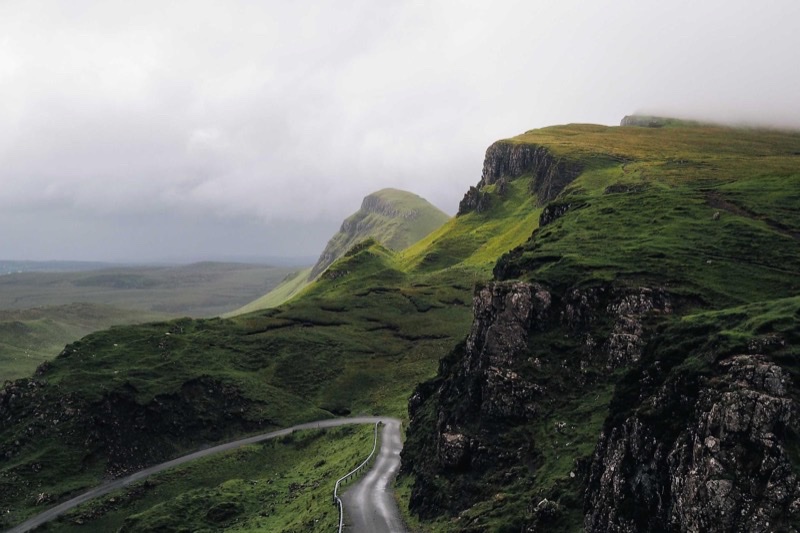
The takeaway from this ladder is that quality 75 is usually the sweet spot for photographic JPEGs delivered on the web: it saves ~13 KB compared to quality 90 with virtually no visible difference. Quality 60 saves another ~21 KB but introduces faint blocking in smooth areas like sky. Quality 35 is useful only for tiny thumbnails or situations where bandwidth is the top priority — the blocking artefacts are obvious on any medium-to-large display.
Putting it together: format × quality
The two comparisons above isolate one variable at a time. In production you adjust both. A common starting point is AVIF at quality 60–70 (encoder-specific), which frequently matches or beats JPEG quality 90 in visual fidelity while coming in at roughly half the bytes. WebP at quality 80 sits between the two as a safe cross-browser middle ground.
The right workflow is to set a perceptual quality target — "indistinguishable from
the original at 1× density on a retina screen" — and then find the lowest quality
value that meets it for each format. Tooling such as
ssimulacra2, butteraugli, or simply careful manual review
at 100% zoom makes that process repeatable.